How to tarp a roof
With meteorologists predicting 2020 to be one of the most active hurricane seasons in recent decades, several storms have already impacted the U.S. since the season began June 1st. Contractors and property owners are well aware of the serious damage water can inflict on a home or commercial building and fast remediation of moisture intrusion is critical, especially when the risks run high during severe weather periods! That’s why waterproof roof tarps can be an indispensable stop-gap solution before or after an episode of harsh winds and rain.
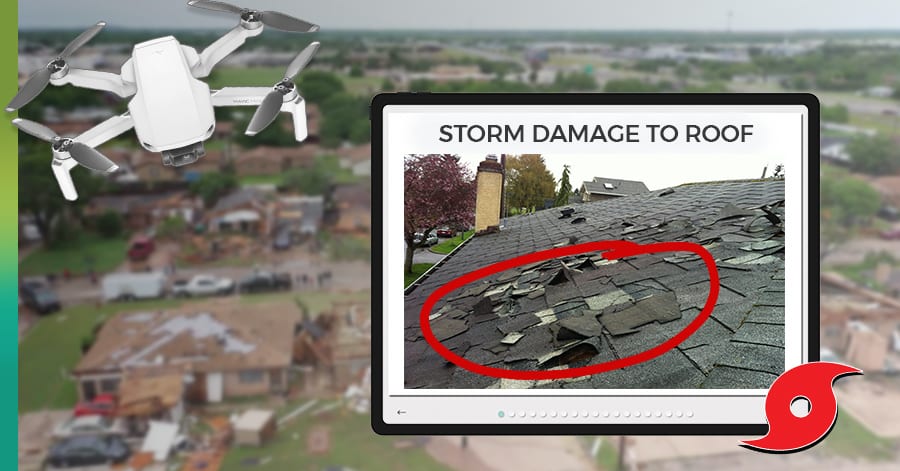
Any breach in the roof system can lead to moisture penetration
It doesn’t take losing a section of a roof to realize the destructive impact of torrential rains and wind. All it takes is a small breach in your roof system for expensive damage to happen. A weak point, such as a crack in a shingle; a corroded pinhole in metal roofing; or a tear in a roof’s underlayment is all it takes for water to find its path of least resistance into your attic. Rain, especially when it’s combined with straight line winds, can cause water damage when there isn’t even a problem in the roof system at all, by blowing moisture up under a shingle momentarily lifted by gusts of wind mixed with driving rain.
Step 1: The BAND-AID® for Roof Damage
The first step in mitigating further damage to your roof and potential water intrusion to your home or building’s interior is to cover it up! Tarping your roof is a short term necessity but it gives the property owner and the contractor time to deal with a more permanent roof repair or replacement.
Time is of the essence and in the aftermath of a bad storm it can be hard to find a roofing pro to address your problem right away due to spikes in requests for roof work. And today, COVID19 and social distancing can pose obstacles in connecting with people in need. Therefore, it’s important to know how to tarp a roof whether you’re a roofer, a handyman, or a do-it-yourselfer.
This blog not only provides a guide to tarping a roof but how to efficiently accomplish Step 2… finding a roofing contractor who can quickly assess your needs and commence work on the project. Contractors who use iRoofing have many tasks they can do with technology that enables instant measurements, estimates, simulations of new roof materials, and tools that integrate with roofing drones, such as the Mavic Mini. If you’re a property owner, ask your contractor if he’s using iRoofing. Your needs will be met more efficiently and with appropriate social distancing.
How to Tarp a Roof
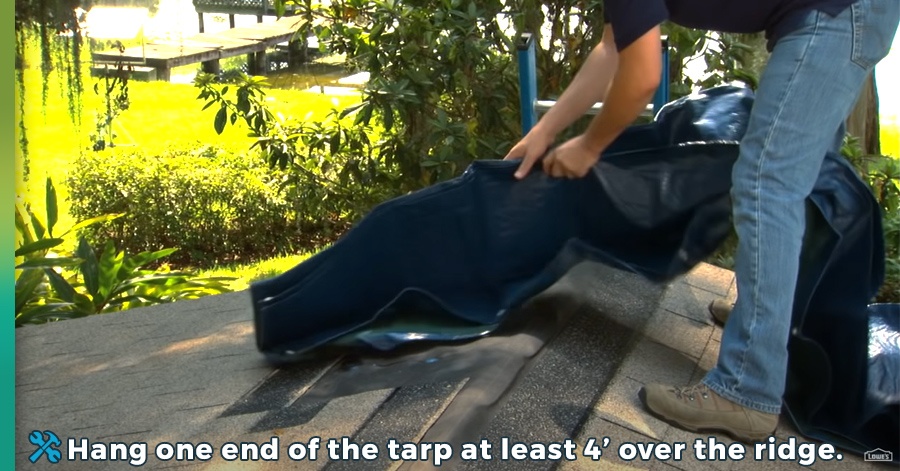
- Hang one end of the tarp at least 4′ over the ridge
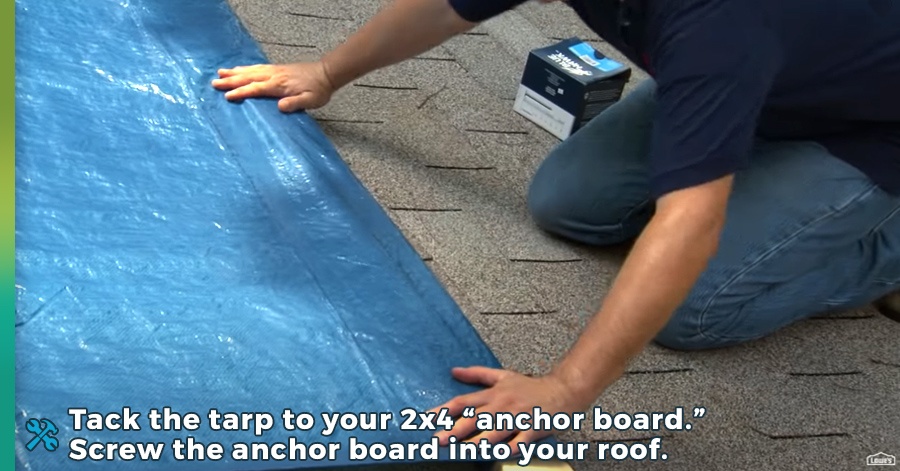
- Screw the anchor board into your roof
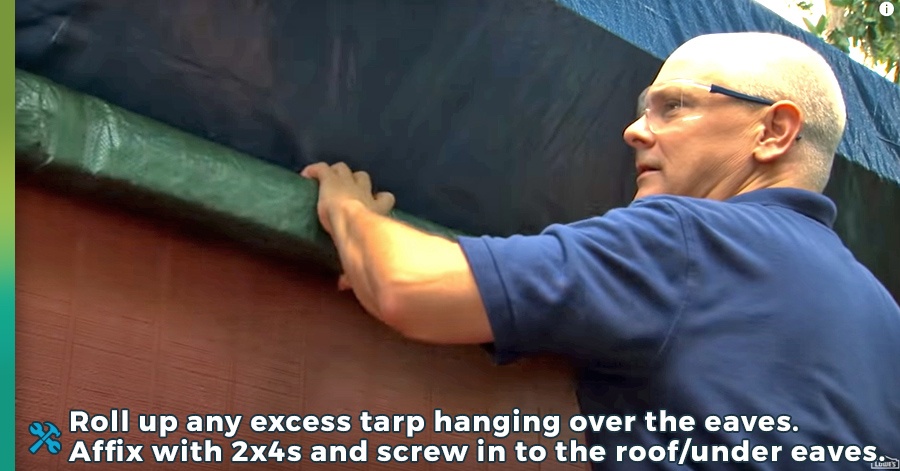
- Roll up any excess tarp hanging over the eaves.
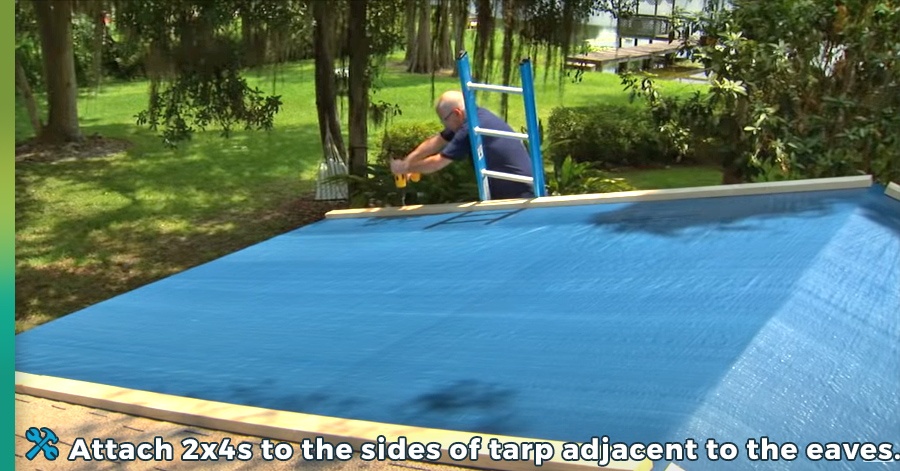
Affix with 2x4s and screw in to the roof / under eaves. - Attach 2x4s to the sides of the tarp adjacent to the eaves.
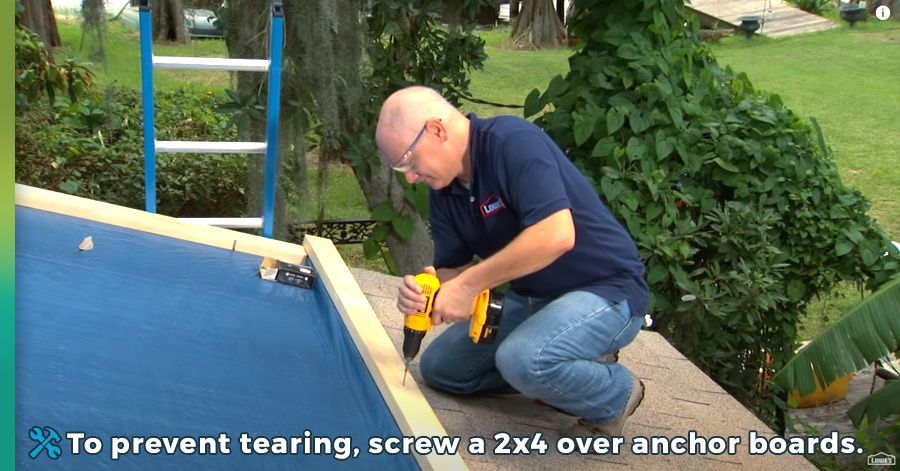
- To prevent tearing, screw a 2×4 over anchor boards.
Using polyethylene tarp to mitigate water damage
How can you be “roof-ready” for a bad storm? It’s not that hard. If you own property or operate a roofing business in a storm-prone region, it’s always a good idea to have polyethylene tarp on hand— those big blue or grey tarps with rivet holes along the edges. Temporary roof covers in the form of heavy duty tarp ranges from approximately 12 to 24 mils and that’s what you’ll need. (1 mil = 1/1000 of an inch.)
When a storm hits, it won’t take long to notice if water has managed to penetrate the roof. Leaks, stains to walls or ceilings, penetration to the roof decking as evidenced by wet spots you can see if you look in the attic… these are indicators that it is time for the homeowner to call a roofing contractor or, if one is not immediately available, apply tarp to the roof themselves.

Applying tarp to a shingle roof
Tarp should be used to cover the area of your roof where visible damage has occurred or where you suspect the problem exists based on where leaks and stains occurred inside the home or building. Follow these steps:
- If you are not comfortable with the process try to call a licensed roofing contractor who is available and willing to tarp the roof as a 1st-step. The contractor might even be able to perform immediate repairs instead, if not, he may use iRoofing to estimate from afar damage and recommend alternative solutions to tarping. Even if you must install a tarp yourself right away to prevent further water damage, it’s always better to have a roofing pro to inspect and fix the cause of the leak, eventually.
- To apply tarp in order to mitigate a leak, use heavy duty polyethylene sheets available at your local hardware store, or big box store such as Lowes. If you’re a roofing contractor, your local distributor should carry the materials you need. Tarps come in different sizes so use your best judgment when selecting sheet sizes, based on the damaged area of the roof.
- Get 2 X 4s that will extend about 2 feet wider than the width of your tarp. You’ll need small cap nails and some long screws as well.
- Once on the roof, sweep off leaves and debris in the area to be covered.
- Spread the tarp out over the area you know or suspect the leakage is occurring and never walk on the tarp, as you run the risk of slipping and falling!
- Hang one end of the tarp at least 4 feet over the ridge of the roof. On the other end, let the tarp hand over the eave if it reaches that far.
- Now, lay a 2 X 4 on the roof, parallel to the edge of the tarp where you had laid it over the ridge of the roof. We’ll call this the “anchor board.” Now use cap nails to tack the tarp neatly onto the 2 X 4. Then, roll the tarp around the 2 X 4 a few times and screw the wrapped board to the roof. You can patch these small nail holes during the actual roof repair.
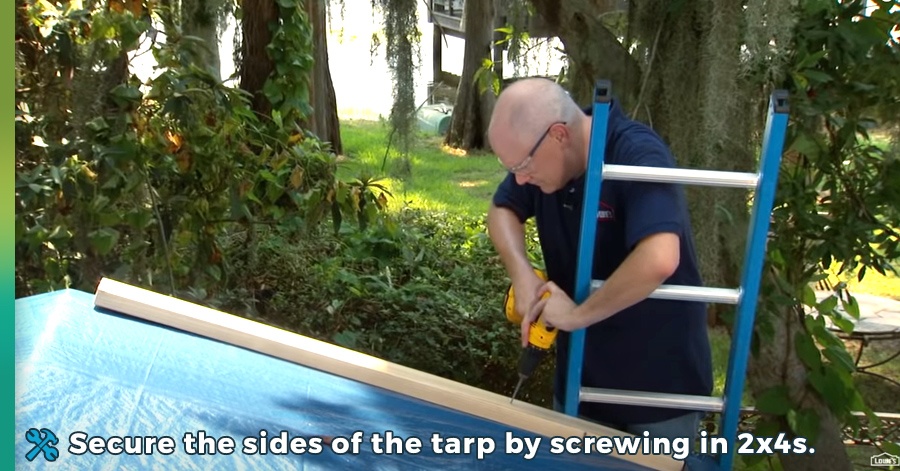
- Now, attach 2 X 4s to the 2 sides of the tarp that run perpendicular to the “anchor board,” and screw those boards into the roof. No rolling or wrapping of tarp required, here.
- Where the tarp ends or hangs over the eave, roll the excess tarp around a 2 X 4, like before, and screw it into the house under the eave or attach it similarly to the roof.
- Now, attach 2 X 4s along the sides of the tarp that run perpendicular to the eave, just as you did on the other side of the roof ridge.
- Lastly, to help prevent the tarp from tearing, you can attach another 2 X 4 over the “anchor boards.”
Watch this great video from Lowe’s which illustrates each step discussed in this article.
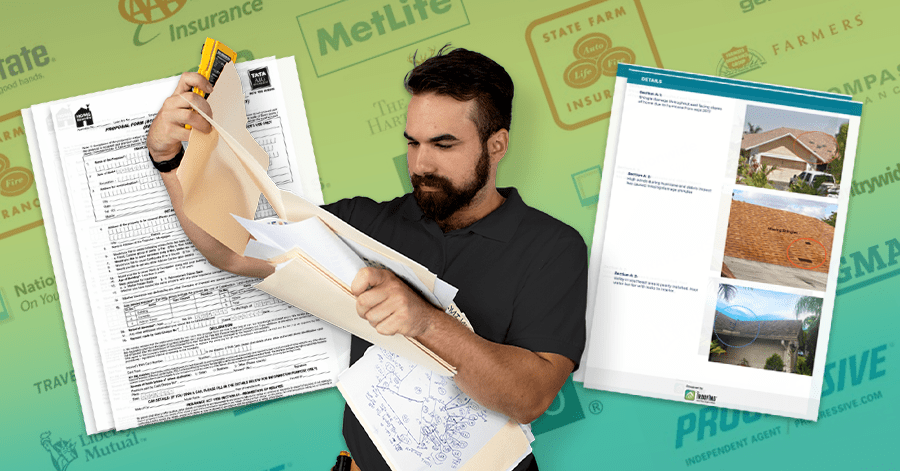
DIY roofing software can help speed up the repair process!
To obtain an estimate for roof repair, a roofing contractor who is equipped with iRoofing’s DIY roofing software can measure any roof remotely by accessing aerial and satellite imagery. The roofing contractor can even see what the roofing material is (shingle, tile, shake, etc.) from recently captured overhead images which are all instantly accessible on the iRoofing app. Then, the contractor can give a property owner an initial estimate, in person, by email, or by meeting with them remotely via any video conferencing platform like Zoom. Of course, for roof damage situations, a final estimate will require a close look at things by removing the tarp and identifying the areas and cause of the water penetration.
Be ready this storm season. Have the basic materials on hand to remediate water damage quickly to allow necessary time to have proper roof repair or replacement performed.